有没有现场技术支持啊?或者我们去您们的技术服务中心也行啊。这个问题都快半年了没法解决啊,急死人啊
用uniflash时也无法program image,老是提示读取数据超时啊
This thread has been locked.
If you have a related question, please click the "Ask a related question" button in the top right corner. The newly created question will be automatically linked to this question.
参考社团中的网友分享
CCS7.3 /CC3220S-LAUNCHPAD: (Error -1170 @ 0x0) Unable to access the DAP)
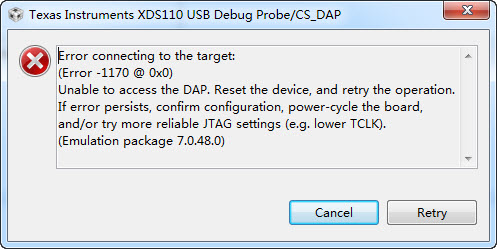
Error connecting to the target:
(Error -1170 @ 0x0)
Unable to access the DAP. Reset the device, and retry the operation. If error persists, confirm configuration, power-cycle the board, and/or try more reliable JTAG settings (e.g. lower TCLK).
问题原因是
LaunchPad 运行的镜像为生产模式而非开发者模式,导致不能进行开发也就是不能再下载程序。
解决方案就是用uniflash工具重新以开发模式下载一遍out-of-box (OOB)镜像
-----------------------------------分割线----------------------------------
第一步
先到www.ti.com网站上搜索uniflash,找到软件并下载安装,这里就不多说了,按照提示点击下一步即可。
第二步
打开uniflash软件,如下图所示,要选择器件/目标板子,这里选CC3220LaunchPad板子。
第三部
开发CC3220还是基于官方的SDK开发比较便利。在SDK包里有out-of-box (OOB)镜像
如果没下载,赶快去官网下载http://www.ti.com/product/CC3220/toolssoftware,以后开发也用得着。下载SDK包,并安装。完成上述步骤了后进行下图的步骤,点击start image creaer
第四步
点击manage project 打开out-of-box (OOB)镜像。
第五步
点击Impore project from zip file,浏览到镜像路径
我的SDK是默认安装的,所以镜像路径如下:
C:\ti\simplelink_cc32xx_sdk_1_50_00_06\examples\rtos\CC3220S_LAUNCHXL\demos\out_of_box\uniflash
第六步
点击Open selected project
第七步
在左侧点击第二栏setting
第八步
在setting里面设置image mode 为Development模式,点击右侧保存按钮,最后点击generate image。
第九步
点击Program Image (Create & Program),过程可能要一会,提示close时说明已完成
再用CCS开发下载时就不会报错了。
在我自己设计的板子上从来没有下载成功过,提示找不到DAP,我用uniflash program image 时又提示读取数据超时。我再逐个管脚排错对比与开发板的电压波形的不同,发现在L4和L5那里有不同。不知道该怎么办啦
参考如下文档操作Uniflash下载程序
Uniflash 进行程序的更新,下载到外部的SPI Flash中
使用操作参考
SimpleLink™ Wi-Fi® and Internet of Things
Solution CC3220, a Single-Chip Wireless MCU
Getting Started Guide
3.4 Download the Application
You can program any application to the SFLASH using the UniFlash tool. In case of CC3220SF device,
the application will be copied to the internal flash at the next device boot.
Do the procedure that follows to flash the Network Terminal application.
1. Run the UniFlash tool.
2. Select “CC3120 / CC3220” from the list of devices (you may type “CC3…” to the search tab to filter out
other devices).
Figure 3-5. UniFlash - Select Device
www.ti.com Download the Application
SWRU461–February 2017 23
Submit Documentation Feedback
Copyright © 2017, Texas Instruments Incorporated
Execute your First Application
3. Select Start Image Creator
Figure 3-6. UniFlash - Start Image Creator
Download the Application www.ti.com
24 SWRU461–February 2017
Submit Documentation Feedback
Copyright © 2017, Texas Instruments Incorporated
Execute your First Application
4. Click on New Project, as shown in Figure 3-7.
Figure 3-7. New Project
www.ti.com Download the Application
SWRU461–February 2017 25
Submit Documentation Feedback
Copyright © 2017, Texas Instruments Incorporated
Execute your First Application
5. Fill all the necessary fields properly. Make sure to select the correct device type (CC3220 for CC3220
and CC3220S device, CC3220SF for CC3220SF device) and click on Create Project, as shown in
Figure 3-8.
NOTE: Although not required for the first step of this Getting Started guide (which uses a
programmable image), it is recommended to put the device in Development mode to allow
JTAG operation so the image can be loaded by an IDE (which is described in Chapter 4).
Figure 3-8. Create Project
6. Click the Connect button as shown in Figure 3-9. Make sure the Serial terminal is not connected to the
device. Also, the SOP [2..0] configuration must be 010.
Figure 3-9. Connect and Disconnect
7. Once connected, click the Service Pack icon at bottom left.
NOTE: Flashing the service pack is not mandatory to develop the format of the device. However, if
the example to be debugged requires the service pack, the service pack can be programmed
with the development formatting.
8. Browse and select the service pack installed in Section 2.2.
3.4.1 Image Creation for Secure Device (CC3220S and CC3220SF)
1. Click on Trusted Root-Certificate Catalog on the lower-left side.
2. Uncheck the Use default Certificate Store checkbox and select Source File (.lst) and Signature Source
Download the Application www.ti.com
26 SWRU461–February 2017
Submit Documentation Feedback
Copyright © 2017, Texas Instruments Incorporated
Execute your First Application
File (.lst.signed.bin), available at <sdk-installation>\tools\certificate-playground, as shown in Figure 3-
10.
Figure 3-10. Certificate Store
3. Select User Files icon on lower-left side and click the Add File icon, as shown in Figure 3-11.
www.ti.com Download the Application
SWRU461–February 2017 27
Submit Documentation Feedback
Copyright © 2017, Texas Instruments Incorporated
Execute your First Application
Figure 3-11. Add File
Download the Application www.ti.com
28 SWRU461–February 2017
Submit Documentation Feedback
Copyright © 2017, Texas Instruments Incorporated
Execute your First Application
4. Select the following certificate files from <sdk-installation>\tools\certificate-playground and click Write,
as shown in Figure 3-12. Note that operation should be repeated to each of certificate files (that
compose a chain of trust):
• dummy-root-ca-cert
• dummy-trusted-ca-cert
• dummy-trusted-cert
Figure 3-12. Select Certificate File
www.ti.com Download the Application
SWRU461–February 2017 29
Submit Documentation Feedback
Copyright © 2017, Texas Instruments Incorporated
Execute your First Application
5. Select MCU Image from the drop-down menu, as shown in Figure 3-13.
Figure 3-13. Select MCU Image
6. Click Browse and select the application image
(<workspace>\network_terminal_CC3220SF_LAUNCHXL_tirtos_ccs\Debug\network_terminal_CC3220
SF_LAUNCHXL_tirtos_ccs.bin) to flash.
7. Make sure the "secure", "failsafe" and "Public Write" boxes are checked, and select the other files.
• Select Private Key File Name from the drop-down menu and browse the dummy-trusted-cert-key
file available at <sdk-installation>\tools\cc32xx_tools\certificate-playground. Select the available
Certificate File Name from the drop-down menu, as shown in Figure 3-14, and click Write.
Figure 3-14. Select Certificate File Name
8. Browse and select the service pack installed in Section 2.2.
9. Click on the icon.
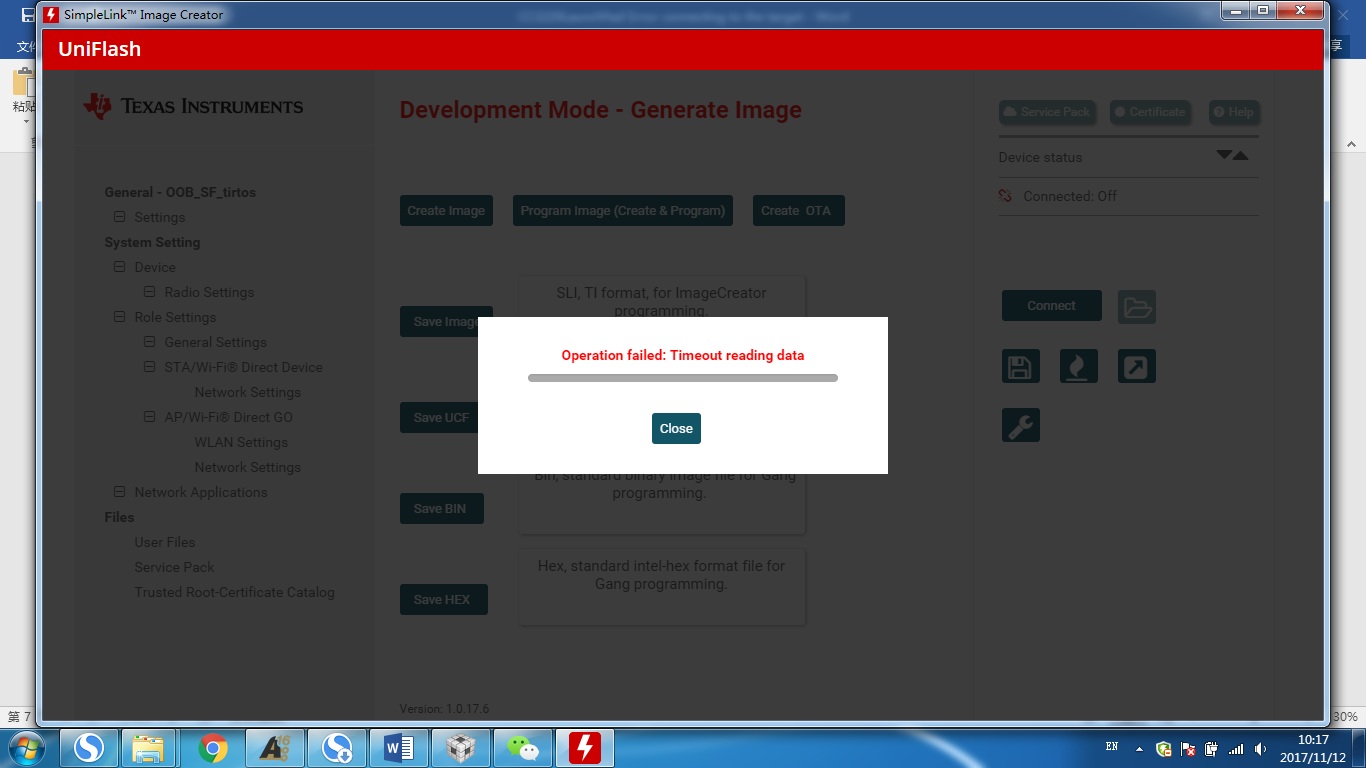
10. Click on Program Image (Create & Program), as shown in Figure 3-15. This step might take a minute.
Hi Adams,
你之前有没有链接下载成功过?还是一直这样?有没有用CC3220SF Launchpad试过?
基于CC3220的image下载,可遵循以下流程:
Steps to load the pre-built CC3220 Launchpad application image
TI CC3220 Launchpad:
a. Connect the board to the computer using mini USB cable. Wait a minute to let the device drivers install.
b. If you click on the Installing device driver software popup, you can see the status of the device driver installation.
c. Follow the steps below to flash the application and store web pages into flash using uniflash:
i. Open UniFlash 4.0
ii. Select “CC3120/CC3220” device from “Enter Device Name” bar.
iii. Verify “Serial (UART) Interface” is selected as a connection
iv. Click on “Start Image Creator” button
v. Click on “Program Image Button”
vi. Click on Browse button in “Image File Name” Section and select devkit_app_Programming.sli file located at “<PATH TO DEVKIT APP BUNDLE>\app\bin”
vii. Click on “Program Image” button
viii. On successful completion, It prints “Programming complete” message
ix. Reset the development board by pressing RESET push button. Demo application will be running once the board is rebooted. You may now try out the internet connectivity by skipping to section 4.
另外下载最新的官方烧录软件,保证最小系统正常就可以了。
请问之前的问题有没有解决呀?我现在也遇到了同样的问题,各种方法都试了还是不行。能不能分享一下解决办法,万分感谢!